S-61R Pelican/Servicing
SECTION 8. SERVICING
Contents
1 General
This section describes the various servicing points for your S61R. Servicing included normal servicing such as topping off of fluids, and refueling the aircraft.
2 Service Points
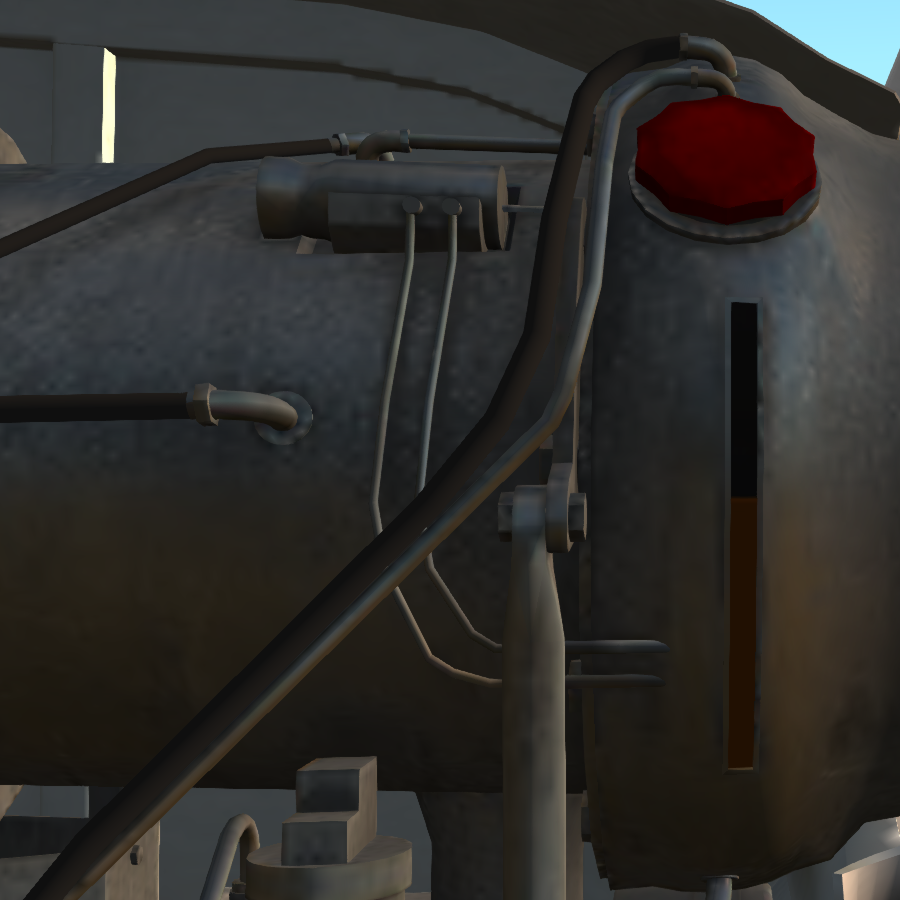
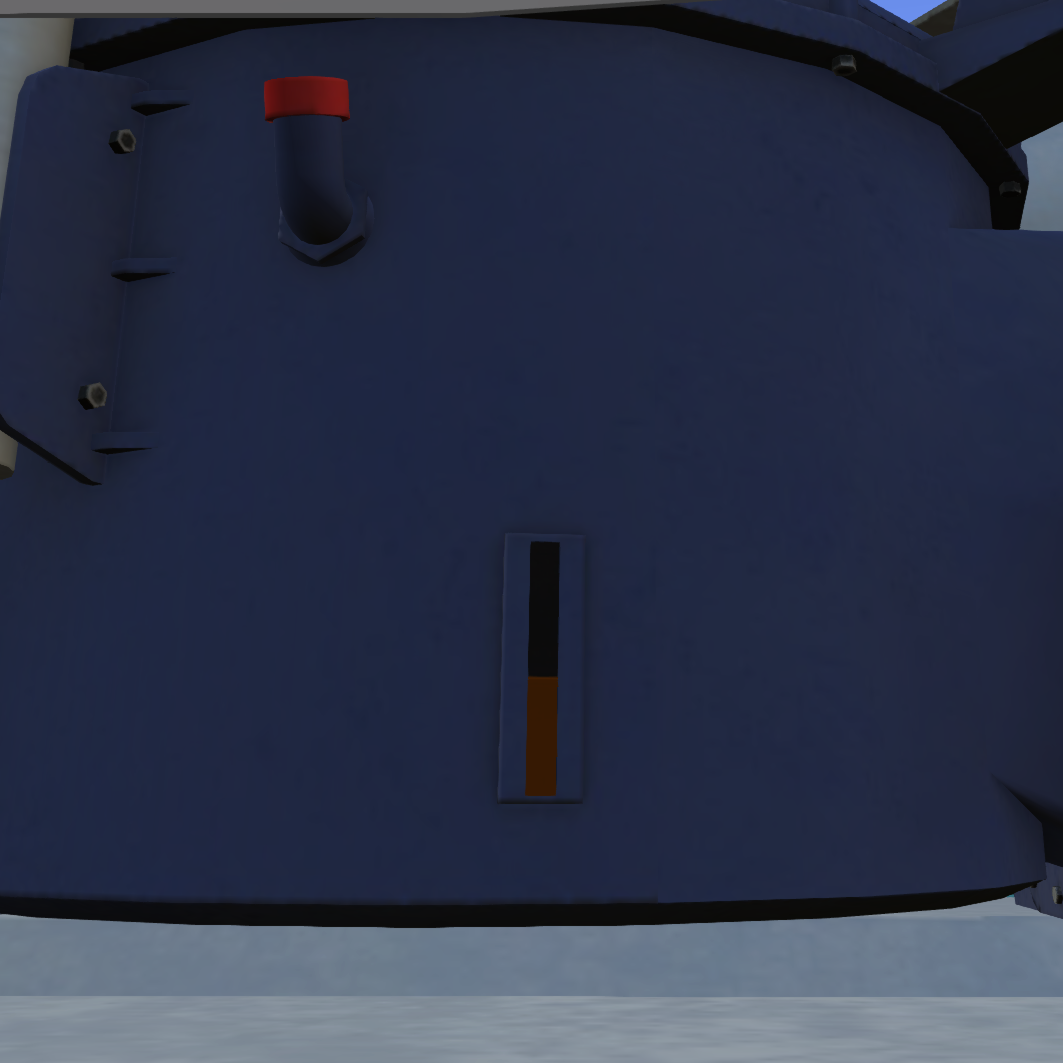
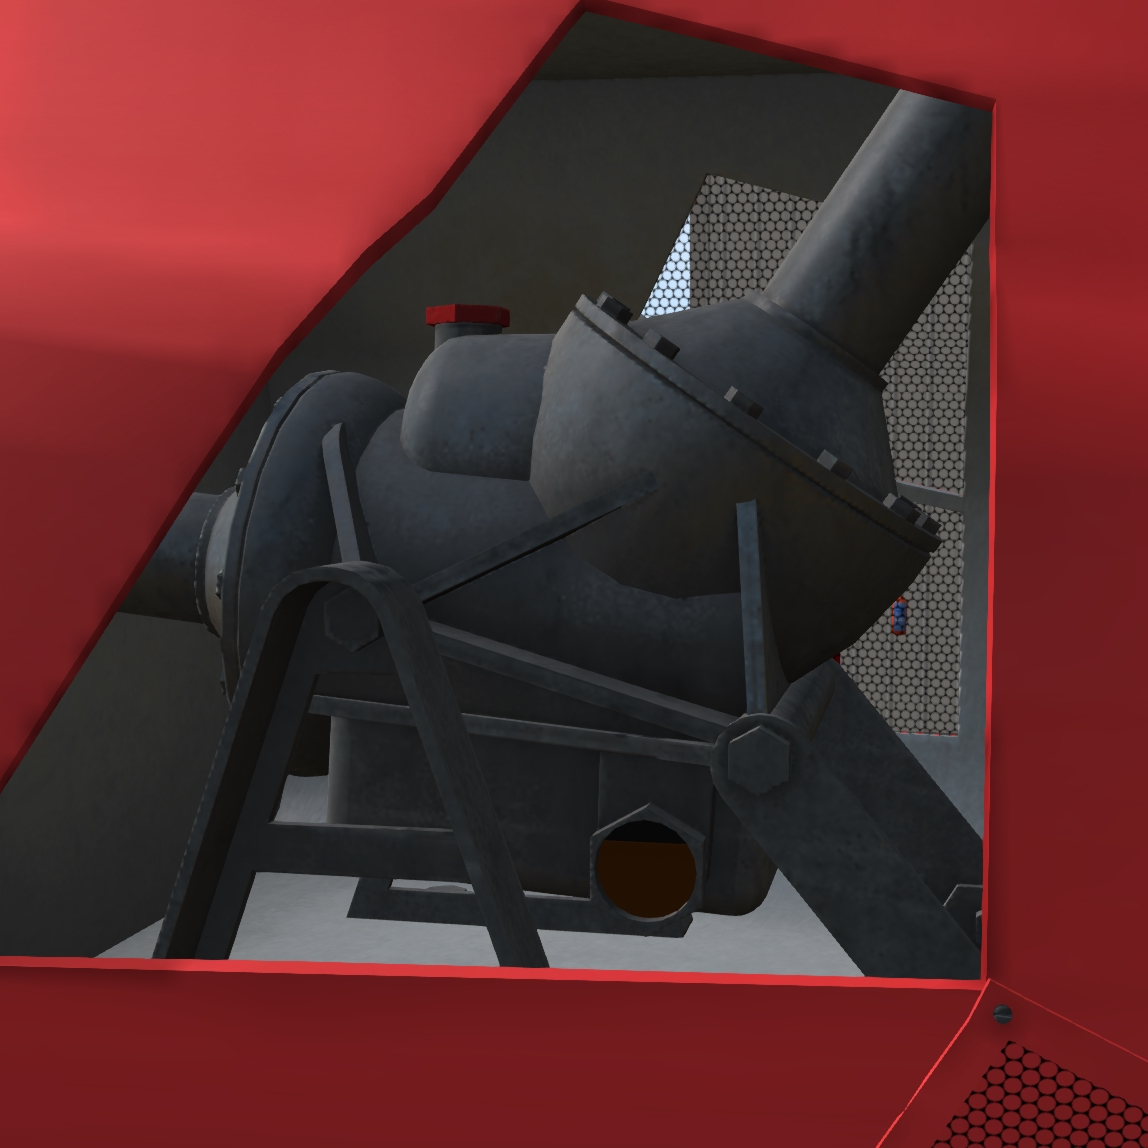
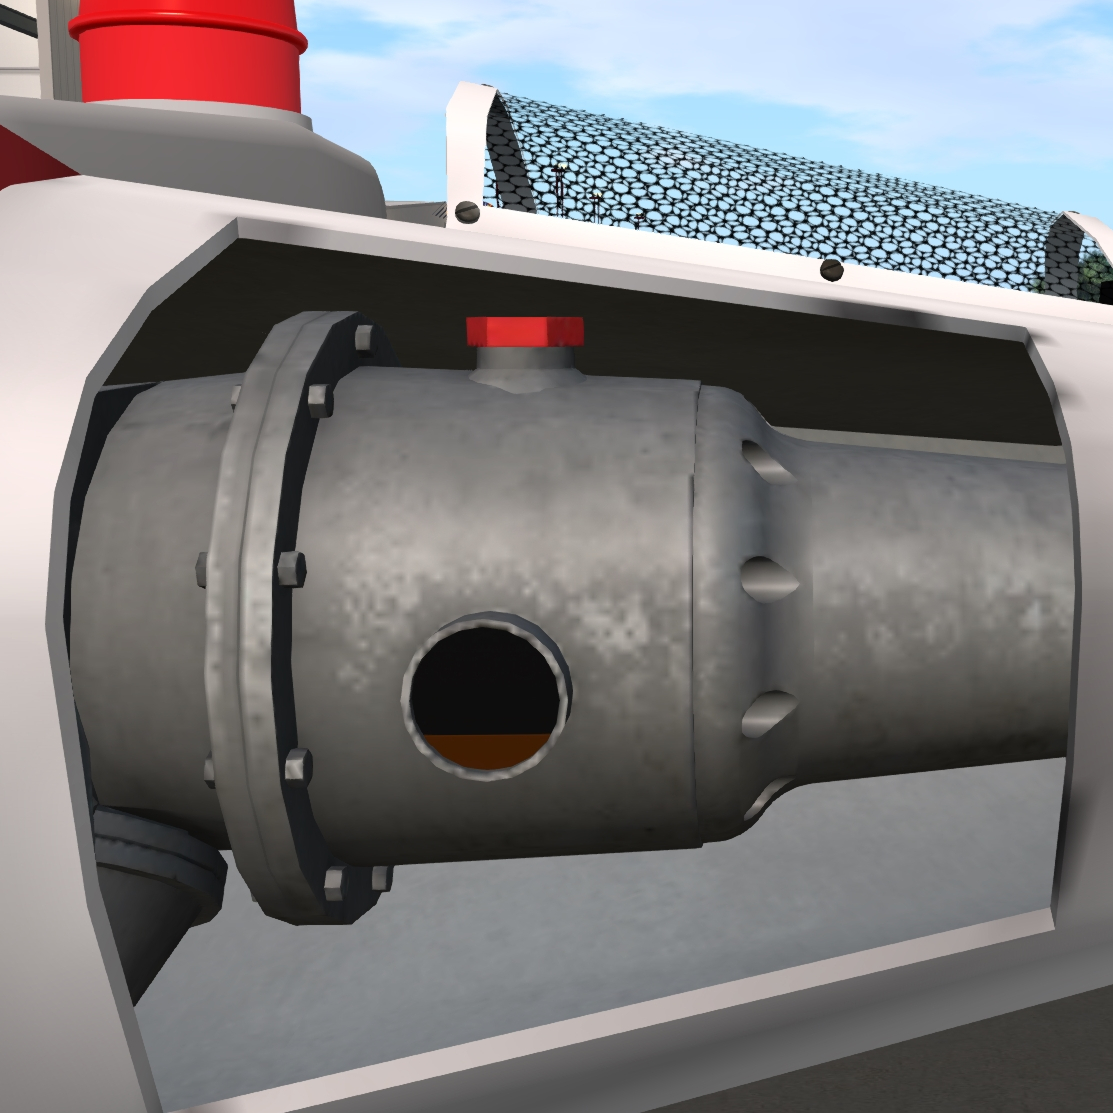
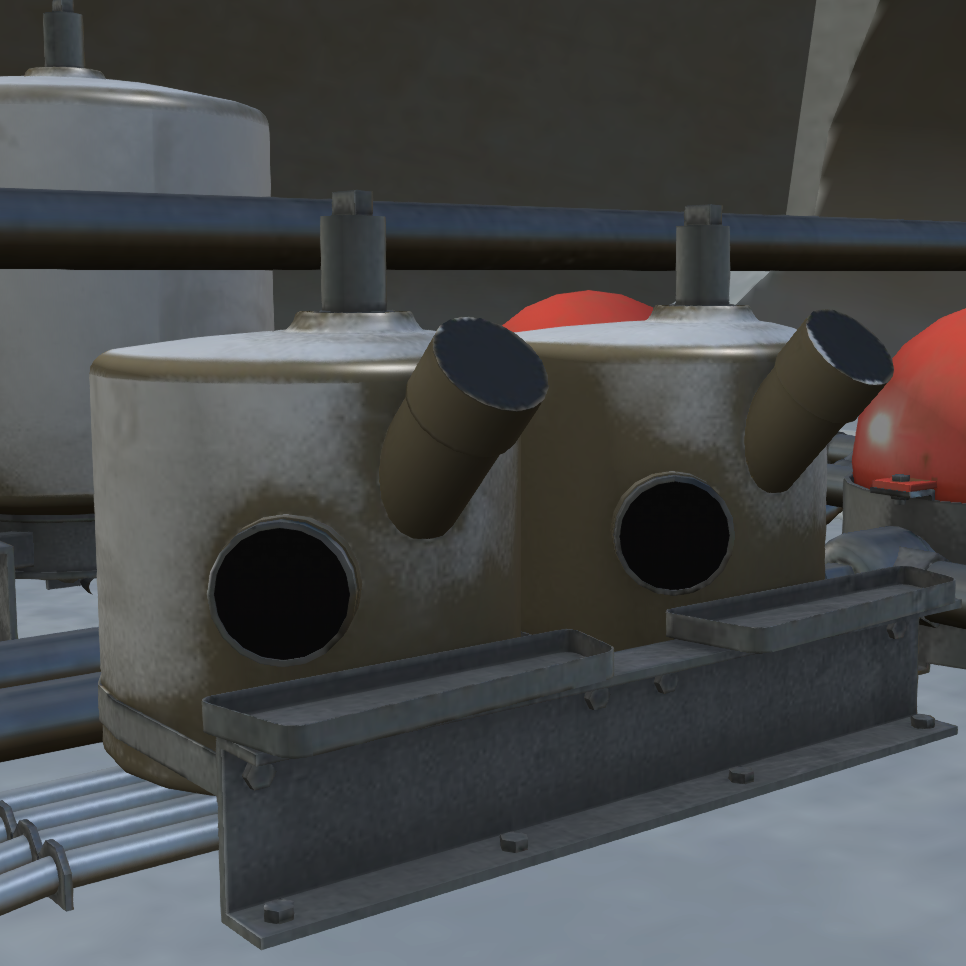
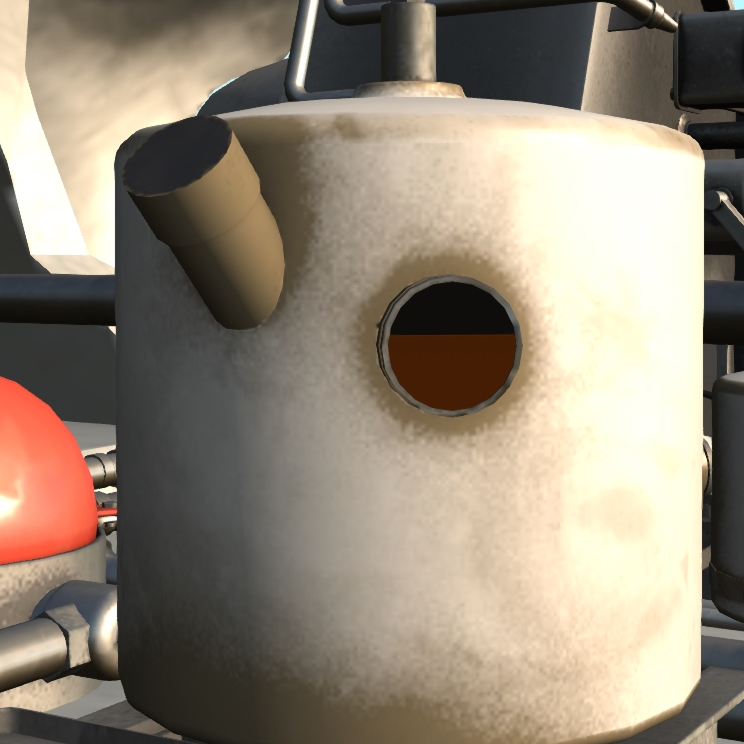
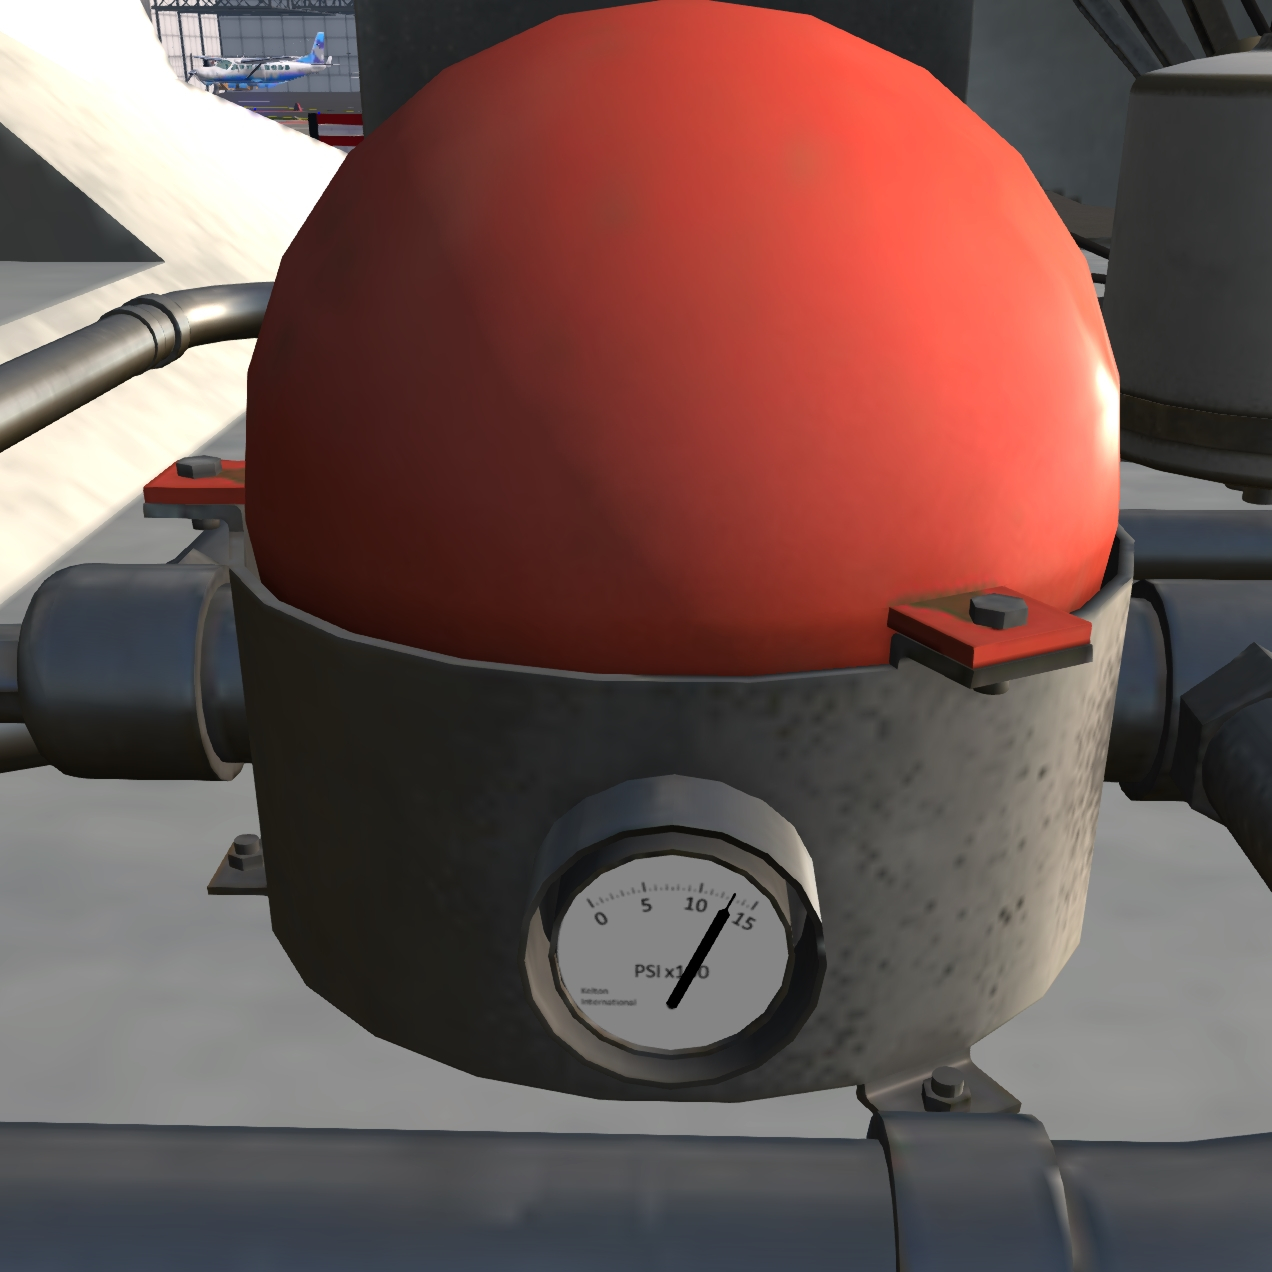
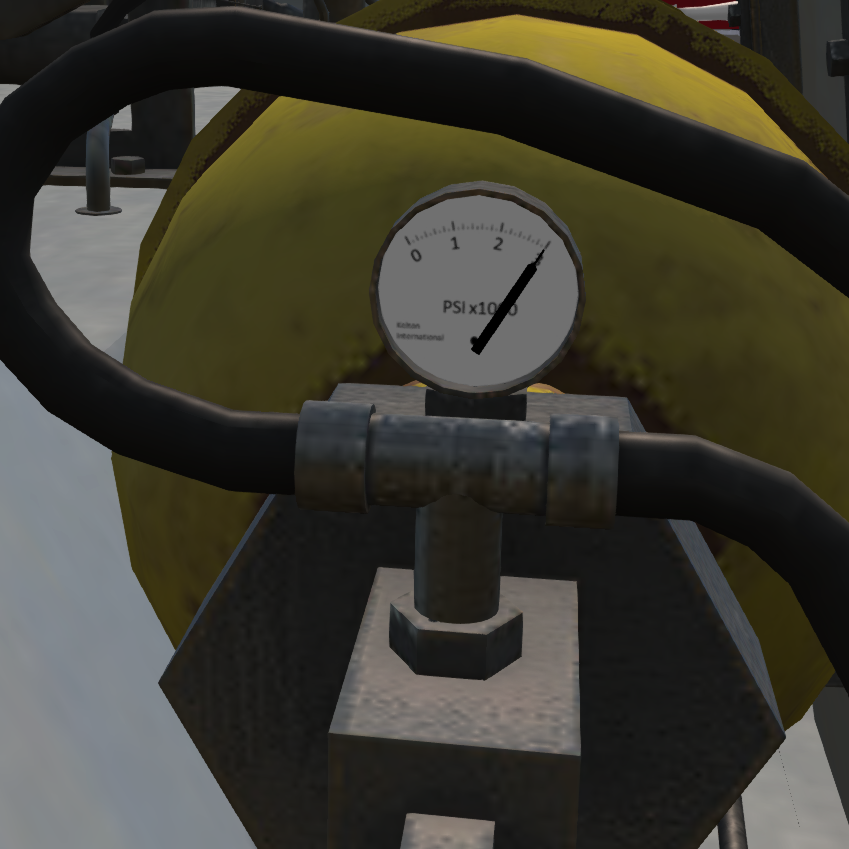
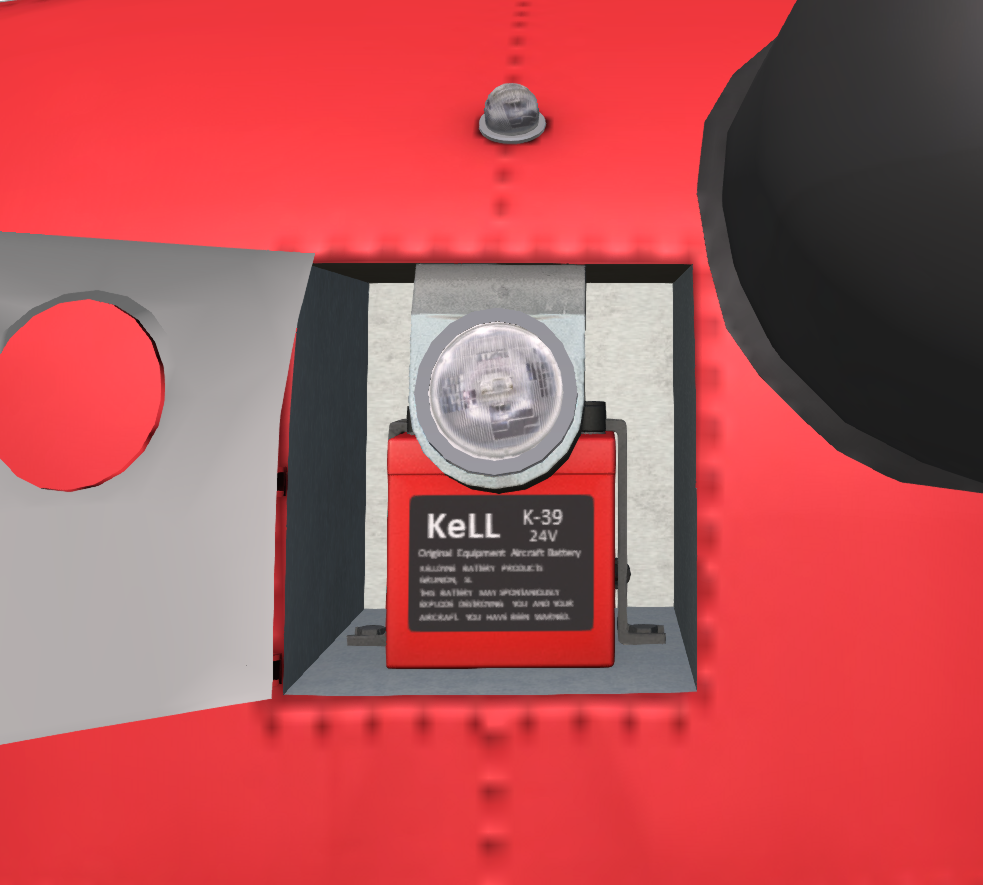
This section describes all the fluid, pressure and battery servicing points in the S-61R. Each fluid filler point has a sightglass to see the current fluid level, and a cap you can click to add fluid. Pressure bottles have an attached pressure gauge.
3 Fluid Types
Only genuine Shergood oil and hydraulic fluid products should be used in servicing this helicopter.
4 Fluid Capacities
| Fluid | Capacity |
|---|---|
| Engine #1 Oil | 10 qt. |
| Engine #2 Oil | 10 qt. |
| Main Transmission | 44 qt. |
| Intermediate Gear box | 0.8 qt. |
| T/R Transmission | 1.6 qt. |
| Primary Servo Hydraulic | 1.8 qt. |
| Auxiliary Servo Hydraulic | 1.8 qt. |
| Utility Hydraulic | 5.04 qt. |
5 Fuel
5.1 Fuel Type
The S61R is designed to operate on JP-5 or JET-A fuel. When refueling with KellyFuel 3.0 or later, care must be taken to use the correct fuel type. If the incorrect fuel type is used, the fuel in that tank will be tainted, and operating the engine with tainted fuel will cause engine damage. If a tank is accidentally filled with the wrong type of fuel, the tank must be completely emptied to flush it of all contaminant. The tanks can be flushed either using the fuel dump system, or through the @Cheat menus.
5.1.1 Approved Fuel Types
| Usage | Fuel Type | Restrictions |
|---|---|---|
| Normal | JP-5 | Unlimited Use |
| Jet-A/Jet-A1 | Unlimited Use | |
| Emergency | 100LL | Limited to 2 Hours Total Flight time. Tear Down Inspection of Engines and Fuel System required after any use. |
5.1.2 Fuel Capacities
| Tank | Capacity | Feeds |
|---|---|---|
| Forward Tank | 348 gal. | Feeds #1 engine |
| Aft Tank | 345 gal. | Feeds #2 engine |
| Forward Aux Tank | 184 gal. | Feeds Forward and Aft tanks |
| Aft Aux Tank | 245 gal. | Feeds Aft Tank |
5.2 Gravity Refueling
Gravity refueling ports are located on the left side of the aircraft in front of the left sponson. The forward auxiliary and tank fillers are located behind separate panel doors, while the aft auxiliary and main tank fillers are located behind a shared panel door. To refuel a tank through the gravity refuel system, the panel door must be open and the tank cap must be removed by clicking on them. Tanks can be filled using either KellyFuel or by using the "refuel" chat command.
The front strut can be used as a ground point while refueling. Always properly ground your aircraft before fueling to avoid a static discharge from sparking a potential fuel fire.
5.3 Pressure Refueling
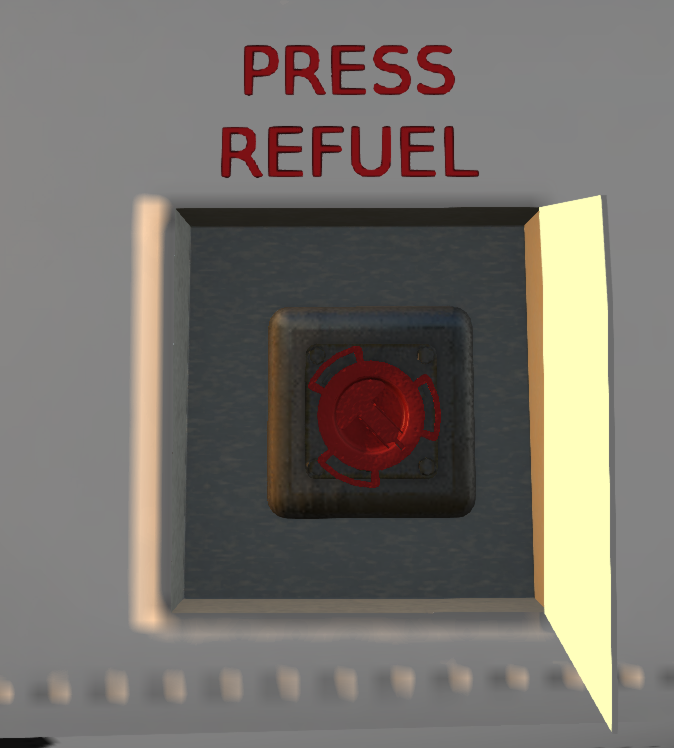
The pressure refueling port behind a panel door on the right side of the aircraft below the main cabin door. Open the panel door and undo the cap on the fuel port to prepare for fueling. Pressure refueling can be used to more rapidly refuel all tanks of the aircraft at once. Fuel flow rate while pressure refueling is approximately 10 times the rate as with gravity refueling. The pressure refueling system is compatible with KellyFuel. You can also use the "refuel" chat command while a cap is open.
The front strut can be used as a ground point while using the pressure refueling system. Always properly ground your aircraft before fueling to avoid a static discharge from sparking a potential fuel fire.
5.4 KellyFuel
To use the KellyFuel 3.0 pump to service your aircraft, use the following procedure to prepare aircraft for fueling:
- Park aircraft within 20m of pump.
- Click pump. Select aircraft by tail number.
- Select tank on aircraft to be filled.
- Open access door and cap for that tank.
- Click ground wire spool near Jet-A side of pump to attach ground wire to nosewheel.
- Click on fuel hose insert nozzle into filler.
To Fuel Aircraft:
- Press ENT on keypad to verify it has been grounded
- Click the credit card reader to "read" your credit card (RP Only)
- Select 2 for Jet-A Fuel
- Enter the maximum number of gallons, then ENT
- Reset the meter by clicking the knob on the side
- Turn the switch next to the pump on the Jet-A side to ON
- Wait for fueling to complete. Fueling will stop when requested number of gallons have been added, the tank is full, or you turn the fuel switch to OFF.
- Press either 1 to fuel another tank, or 2 to end fueling.
