Difference between revisions of "H-34 Choctaw/General"
(→Joysticks) |
(→GTFO) |
||
| Line 291: | Line 291: | ||
| − | The S61R is | + | The S61R is compatible with GTFO using the code KSCHOCTAW. |
=== Weather Commands === | === Weather Commands === | ||
Revision as of 05:14, 26 June 2021
SECTION 1. GENERAL
Contents
1 N-NUMBER ASSIGNMENT
When you rez your aircraft for the first time, it will attempt to contact registration server and assign you a unique N-number. If for some reason the server cannot be contacted, the aircraft will retain the "N-TEMP" registration. You can attempt to register again either by rerezing the aircraft, or by going to the @REGISTER menu and selecting the [Register Now] button. When an aircraft has not been registered, the @REGISTER will be available on the main menu. Once the aircraft is registered, you can access the @REGISTER menu as a sub-menu of the @Admin menu. You can also request a different N-number through the @REGISTER menu. Select the [N Number] button and enter an N-Number request. The N-number must be in a valid format, and must not be assigned to another aircraft. Valid N-Numbers must begin with an "N", followed by 3 to 5 alpha-numeric digits (however, only the last two digits may be letters). Alternatively you can select one of several international registration formats such as L-LLLL or LL-LLL where the "L" are letters, or a militaty format with five numeric digits.
2 CONTROLS
This aircraft supports two separate control schemes: Keyboard-based and HUD-based. The control scheme is set in the @Options menu. Regardless of the scheme selected, controls can also be moved through the HUD by pressing and holding the left mouse button and dragging the appropriate slider in the HUD. In both control schemes, some key commands are activated through gestures included in a box as part of the product carton. Key commands requiring a gesture are marked with a [G] in the key command lists below.
2.1 CONTROLS LAYOUT "K" (KEYBOARD)
Keyboard control features a traditional layout with the cyclic controlled by the arrow keys.
| Key | Description |
|---|---|
| Left/Right/Up/Down (or A/D/W/S) | cyclic (Left/Right/Forward.Back) |
| PgUp/PgDown (or E/C) | Collective (Up/Down) |
| L. Mouse + Left/Right (or A/D) | Pedals (left/right)* |
| Shift-Left/Shift-Right | Alternate pedal control (not available in mouselook) |
| Z/X | Alternate pedal keys (left/right) [G] |
| . | Center cyclic [G] |
| p | Toggle camera view [G] |
- NOTE ON PEDALS: Because the left mouse button is intercepted by the touch scripts in the heli, the L.Mouse + Arrow key combination will only work in mouselook, or in external view modes. There is also a "mouselook touch" mode that is toggled by the "mlt" chat command. This toggles whether mouse clicks while in mouselook affect switches and buttons in the cockpit, or are used for pedals.
2.2 CONTROL LAYOUT "H" (HUD)
HUD control is designed to be used with the left hand on the WASD buttons, and right hand on the mouse controlling the cyclic in the HUD (by dragging the red dot on the HUD). It is also possible to use gestures for the JKLI buttons to control cyclic with the mode.
| Key | Description |
|---|---|
| Up/Down (or W/S) | Collective up/down. |
| Left/Right (or A/D) | Anti-torque pedals. |
| J/L/I/K | *Cyclic left/right/forward/back. [G] |
| . | Center cyclic [G] |
| p | Toggle camera view [G] |
3 CAMERA
The default camera position is inside the cockpit with a view through the front glass. It is also possible to switch to an outside "follow cam" view by typing "cv" or wear the "cameraViews" gestures and use "p" key to toggle views. An additional overhead view can be selected with the "cv2" command. In addition, it is possible to fly in mouselook when using one of the keyboard based flight control methods.
4 Mouselook Touch
Because of SL limitations, it is not possible to use the mouse button for both clicking on controls, and using it to modulate the Left/Right keys to be used for the anti-torque pedals. For this reason, most Shergood helicopters use the "mlt" chat command to toggle the functionality of the left mouse button between being used to click on controls, and being used for pedal control.
Note: Some common mesh attachments can interfere with MLT, if you experience issues with the aircraft not responding to touches in MLT, remove all mesh attachments and reattach them one at a time to identify the one causing it.
5 CHAT COMMANDS
5.1 General
Chat commands may be issued on local chat, or on the channel /2973 for use in gestures.
5.2 Command Summary
| Command | Description |
|---|---|
| help | Get link to aircraft documentation. |
| menu | Post the main menu |
| cycen | Center the cyclic |
| pedcen | Center the pedals |
| cv/cv0/cv1/cv2/cv3 | Change camera view: toggle/cockpit/behind/overhead/underside |
| fc/fc0/fc1/fc2 | Fine control: toggle/off/fine/very-fine |
| dc | Close all doors |
| rb/rb0/rb1 | Toggle rotor brake/Rotor brake on/Rotor brake off |
| mlt | Toggle "mouse look touch" |
| qstart | Do a quick start (skip full start procedure) |
| qstop or stop | Do a quick shutdown (skip full shutdown procedure) |
| hud | Get copy of hud |
| winchhud/hoisthud | Get copy of hoist hud |
| checklist | Bring out or stow the checklist |
| s switch-name | Toggle the switch named "switch-name" |
| s1 switch-name | Turn on the switch named "switch-name" |
| s0 switch-name | Turn off the switch named "switch-name" |
| sn switch-name | Set rotary or three position switch to position n. |
| ap cmd | Autopilot command |
| x cmd | Transponder command |
| nav cmd | Navigation/VOR command |
| wind cmd | Set wind model for on-water behavior. |
| w cmd | Winch/Hoist command |
| wx cmd | Weather command |
5.3 Quick Start
Like all Shergood aircraft there is a command, "qstart", to start the helicopter quickly. In order to use this command, there must be someone sitting in the pilot seat. Note that the qstart command works by initiating a script that configures the helicopter for flight and does not instantly put the helicopter in a flyable state. The script includes pauses to wait for various systems to spin up to speed such as the APU, each engine and the rotor system. Once issuing the qstart command, it is recommended to wait for the rotor system to reach 100% before attempting flight.
The qstart command does not by default correct any failed systems. Some system failures may prevent the qstart process from completing. In this case, there will be a message in local chat informing that qstart has timed out. You can correct failed components either by clicking on the component or using the "Repair All" button from the "@Cheat" menu.
5.4 Fine Control
The "fc" chat command or "q" gesture toggles fine control mode for key commands. This can be useful when higher precision is need such as for making an accurate landing on a small platform. When in fine control mode, the effect of control keys are halved.
6 Gestures
| Key | Description |
|---|---|
| p | Toggle camera view |
| shift-c | Collective full down |
| t | Toggle mouselook touch |
| q | Toggle fine control |
| . | Center cyclic |
| I | Cyclic forward |
| J | Cyclic left |
| K | Cyclic back |
| L | Cyclic right |
| z | Pedal left |
| x | Pedal right |
| r | Increase throttle |
| v | Decrease throttle |
7 Switch Operation
7.1 General
The switch names can be used to control the switches from chat commands or gestures. The chat commands for the various switch types are described below.
7.1.1 Toggle switches
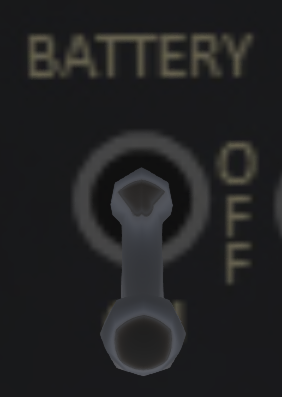
Toggle switches are simple two position switches, in most cases with an ON and OFF position (a small subset are selectors between two options). Commands for toggle switches are:
| Command | Description |
|---|---|
| s name | Toggle a switch |
| s1 name | Move a switch to the ON position. |
| s0 name | Move a switch to the OFF position. |
7.1.2 Three-Position Toggle Switches
The Pelican has a number of three-state "toggle" style switches (see Figure 2). The switch positions are numbered with "0" as the top position and "1" as the center position, and "3" as the edge positions. Toggles are moved by click over the area you want it to switch to, near the top for position 0, the center for position 1 and the bottom for position 2. They can be controlled with the following chat commands:
| Command | Description |
|---|---|
| s0 name | Move switch to top position |
| s1 name | Move switch to center position |
| s2 name | Move switch to bottom position |
7.1.3 Rocker Switches
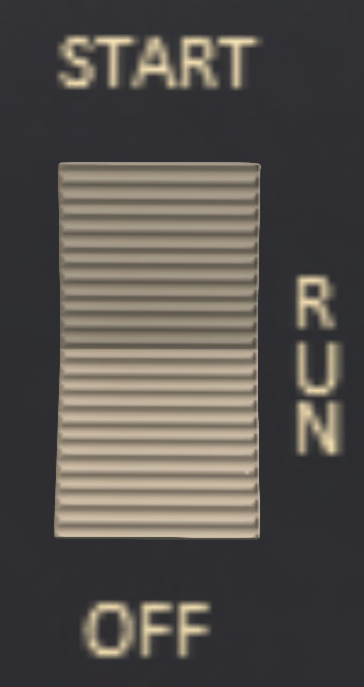
The Pelican has a number of three-state "rocker" style switches. The switch positions are numbered with "0" as the center position and "1" and "2" as the edge positions. Rockers are moved be clicking on one half of them. Each click moves it one position. Some rocker switches are "spring loaded" on one side or the other. For example the APU switch has an START, RUN and OFF positions with the START position being spring loaded. They can be controlled with the following chat commands:
| Command | Description |
|---|---|
| s0 name | Move switch to center position |
| s1 name | Move switch to edge position 1 |
| s2 name | Move switch to edge position 2 |
Note that chat commands with spring-loaded switches will not automatically return to the center position. You must explicitly use an "s0" command after a delay. This is to allow you to control the delay in gestures.
7.1.4 Rotary Switches
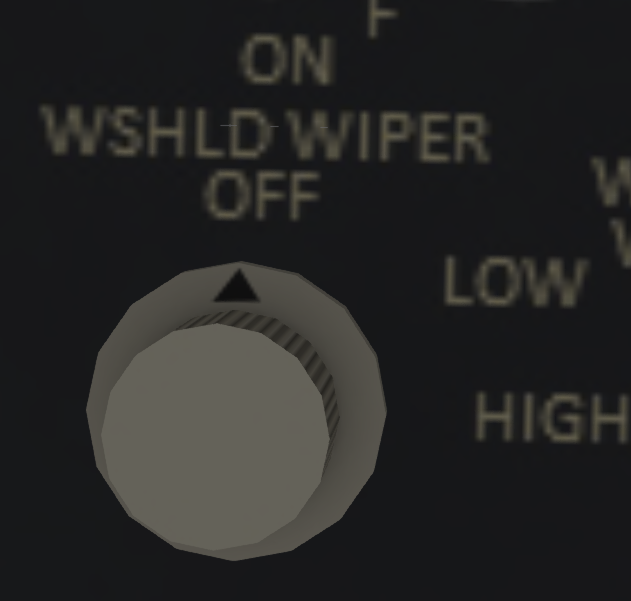
Rotary switches have varying numbers of discrete positions and are controlled with a rotating knob. The positions are numbered start with zero at the most counter-clockwise position and increase in a clockwise direction. For example in the knob shown in the figure to the left the FWD setting is position 0, and the ALL setting is position 4. Knobs are moved interavtively by clicking on them. The side on which you click, relative to the indicating line, determines the direction of rotation.
| Command | Description |
|---|---|
| sn name | Set rotary switch to position n. |
8 GTFO
The S61R is compatible with GTFO using the code KSCHOCTAW.
9 Weather Commands
Weather chat commands can be used to set visibility conditions. When in IMC, the inside windows will be made opaque to simulate flight in fog or clouds. You can also set a "ceiling", the height of the cloud layer. This feature can be used in conjunction with the ILS approach system.
| Command | Description |
|---|---|
| wx vmc | Sets the current weather to VMC (Visual Meteorological Conditions) |
| wx imc | Sets the current weather to IMC (Instrument Meteorological Conditions) |
| wx ceil n | Sets the current ceiling to the specified height in feet |


